Vanity mirrors are just what you need for putting on makeup and getting that perfect look for an amazing night out. The simple difference between a basic dresser mirror and a vanity mirror is the lighting. The bulbs surrounding the mirror emit just the right amount of glow so you have an exact idea of how the colors will look on your face. If you’ve been making do with a regular mirror, know that transforming it into a makeup accessory isn’t all that difficult. Here are a few DIY vanity mirror ideas you can use.
Source: Best Products
1. Placing Lights on the Top of the Mirror
This one may be the simplest of DIY vanity mirror tips. In place of taking on any major projects, you can install a strip with bright lights on the top of the mirror on your dresser. Make sure that they are placed at an angle so that the illumination falls on your face. If needed, you can also opt for installing smaller lights on the sides of the mirror for a multi-dimensional makeup view.
2. LED Lights Frame
Source: wayfair
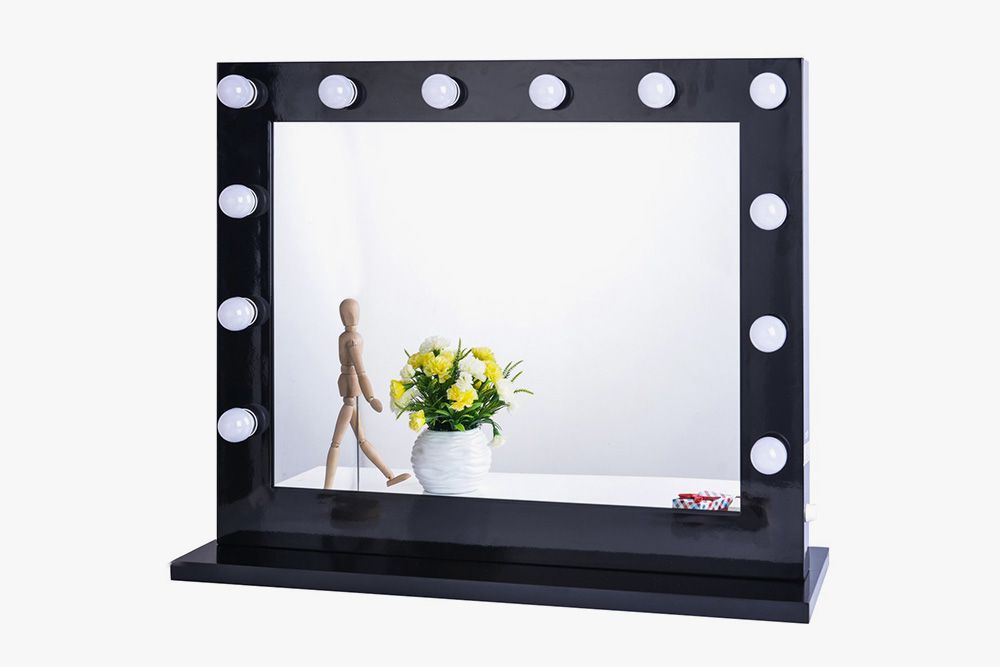
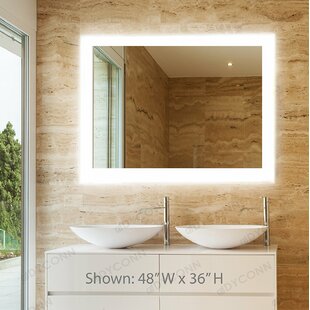
The newest in vanity mirror lighting ideas is to have a frame with LED lights surrounding the entire mirror. Not only does the frame add to the appeal of your dressing area, but the diffused light falling on your face gives your makeup a special effect. LED frames are available at several online stores. Buy the right size you need, install your mirror and instantly, you’ll have a DIY vanity mirror.
3. Table Lamps with Exposed Bulbs
Here’s a quick and practical method of transforming any looking glass into a vanity mirror. All you need to do is place two table lamps with exposed bulbs on both sides of the mirror on your dresser. Turn them on when you’re ready to put on makeup and you’ll have plenty of illumination to help you.
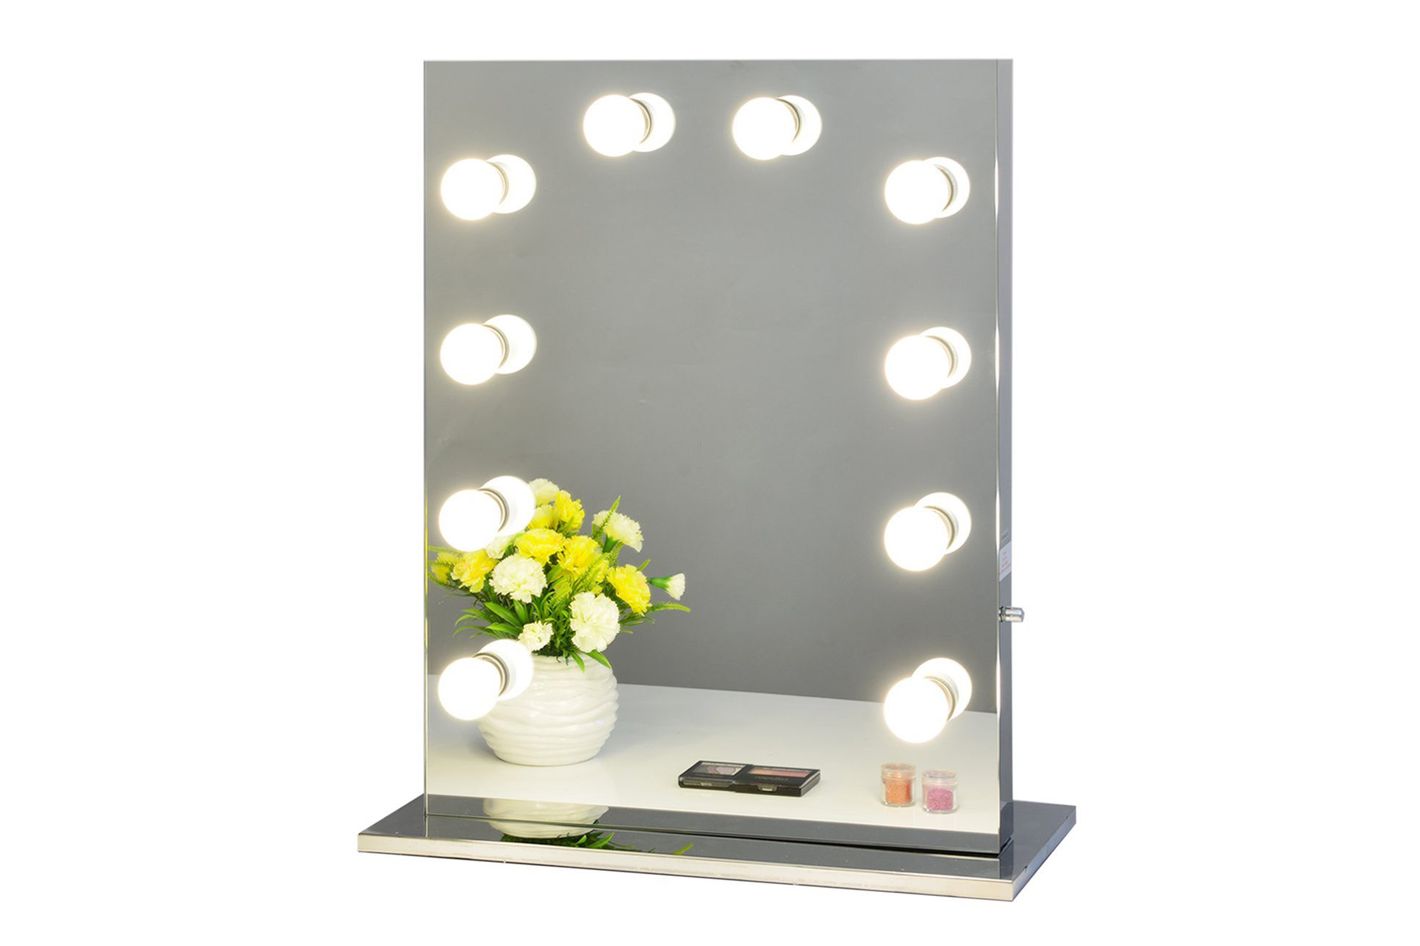
4. Build Your Own DIY Vanity Mirror
If you enjoy taking on projects that involve building things, this one’s just for you.
Let’s begin with the supplies you’ll need.
-
Source: Amazon
Sheet of Plywood measuring 28 x 34 inches
- Primer or undercoat
- Paint (choose a color that matches your dresser) and paint brushes
- 2 Pieces of board 32 inches each
- Pencils for marking
- Mirror measuring 18 x 30 inches
- Drill and screwdriver
- 6 to 8 lamp sockets with plug-in cords
- Strong, construction-grade adhesive
- 3-inch screws
- Power strips
- 6 to 8 bulbs
- Zip ties
Let’s get started:
- Using the paint brushes, apply two coats of primer on the sheet of plywood and 2 pieces of board. Cover the surface and sides completely. Set aside to dry.
- Paint the pieces of wood evenly. Allow to dry.
- Place the plywood sheet flat on the floor or work table. Mark out a border with the pencil that is wide enough to take the width of the bulb sockets.
- Place the lamp sockets after measuring the spacing carefully so that it is even. You can opt to have 3 bulbs each on opposite sides or 2 each on all 4 sides. Trace their outline using the pencil.
- Drill ¼- inch wide hole in the centers of the circles you marked out.
- Thread the power cords through the holes and attach the bulb sockets on the plywood using screws.
- Apply a generous amount of adhesive on the back of the mirror and place it carefully in the center of the plywood. Allow to set for a short while.
- Use the mounting screws to attach the power strip on the under-surface of the plywood.
- Connect the cords to the power strips.
- Drill holes through the plywood on the corners to hold the 3-inch screws.
- Place the board on the wall where you intend to mount the mirror and mark the wall through the holes with the pencil.
- Drill holes in the wall where you see the pencil marks.
- Place the mirrored board on the wall and screw it in place.
- Taking care to keep the switch off, connect the power strip wire to the electrical outlet.
- Screw the light bulbs into the sockets, and turn them on.
Your DIY vanity mirror is ready for use. Go ahead and get your glamour quotient on.